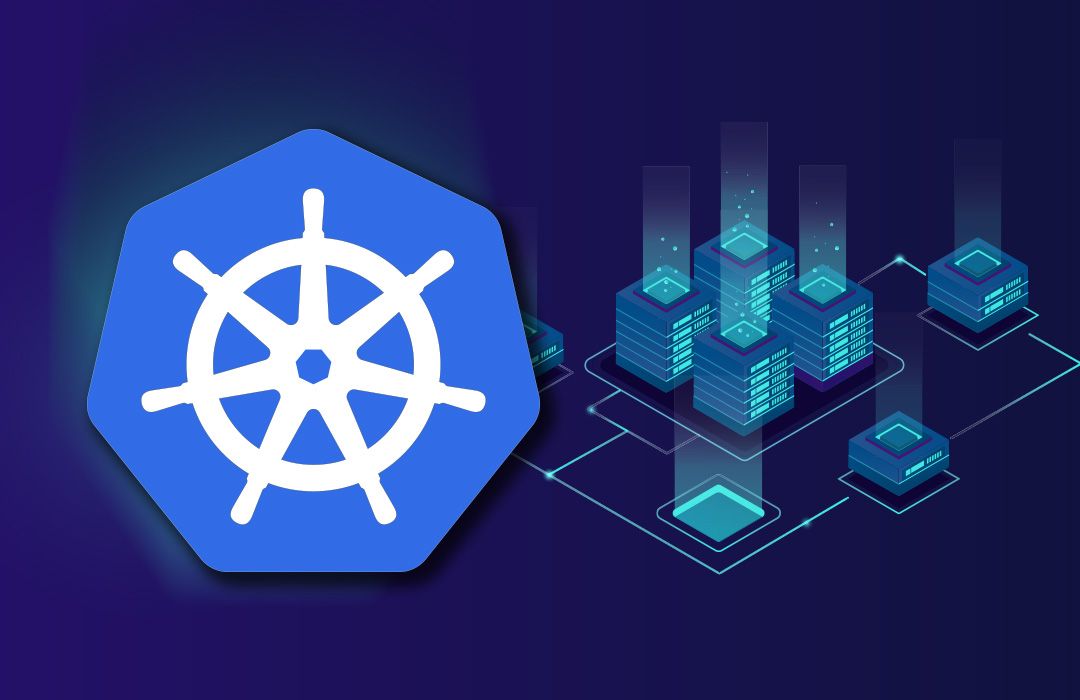
The term Kubernetes (or K8s) sounds very interesting, right? Well then what does one mean by Kubernetes? If you google for the definition of Kubernetes, it says, "Kubernetes is an open-source container-orchestration system for automating application deployment, scaling, and management. It was originally designed by Google, and is now maintained by the Cloud Native Computing Foundation."
Ah, that's a lot of technical terms in a single sentence. Let's break it down into simple words. So, what are "containers”? Containerization is a lightweight alternative to full machine virtualization that involves encapsulating an application in a container with its own operating environment. In simple terms, containers are VMs without its own operating system.
Then why should we learn Containerization when VMs are more easy to set up. Well, VMs take up a lot of system resources. Each VM runs not just a full copy of an operating system, but a virtual copy of all the hardware that the operating system needs to run. This quickly adds up to a lot of RAM and CPU cycles. In contrast, all that a container requires is enough of an operating system, supporting programs and libraries, and system resources to run a specific program. What this means in practice is you can put two to three times as many as applications on a single server with containers than you can with a VM. In addition, with containers you can create a portable, consistent operating environment for development, testing, and deployment. That's a winning trifecta.
So let's sum up. Now we know what containers mean. So, Kubernetes helps in automating the process of deployment, scaling and management of the containers. The term "automating" is the reason behind this sudden hype for this system. So what Kubernetes does is that it automatically scales the application according to the needs. Well suppose you have designed an application for like 500 people. Assume your application has gone viral. You are receiving say 50,000 requests now rather than 500. So, now you have to scale up your server to be able to host the server for 50,000 people. We have to admit, scaling up a server is a tiresome job. First you need to create a server with the capability of hosting 50,000 requests and then moving your existing application to the new server. This transfer of application from one server to another creates a down time for your application. This might be trivial for you, but imagine any google service to be down for even 10 mins. This little down time could cost Google in millions.
This is where Kubernetes comes into play. Containerizing an application makes it lightweight and portable. As the requests to the server increases, Kubernetes distributes the containers over more servers, thus keeping the application up and running all the time with a minimum down time.
Well, this was just a simplified explanation of Kubernetes. It has many other technical specifications which leads to few disadvantages too, but much of those disadvantages could be suppressed by just making a few changes to the containers .

Okay so that was a lot about Kubernetes. Now let’s dive into the most fundamental component of the Kubernetes Architecture, the DOCKER.
So, what exactly is a docker? Again if you Google the term docker, here is what you get, “Docker is a set of platform as a service products that uses OS-level virtualization to deliver software in packages called containers.”
Again that’s a lot technical, right? Well, you already know what containers are, so Container is the run time instance of Docker images. The benefit of containers is that Containers are isolated from one another and bundle their own software, libraries and configuration files; they can communicate with each other through well-defined channels.
So, when you create a Docker image from a Dockerfile, it is just Docker Image but when you run the same image, it is run in an environment which is termed as Containers.
Okay so enough of the theory, now let’s dive into how you can create your own Docker Image. Here for this tutorial I will consider a simple Flask (python framework for web development) app.
Well this tutorial isn’t about Flask so I wouldn’t be doing a code walkthrough, instead I’ll provide you with the boilerplate code. If you would like to know more about Flask then go to the following link.
First, install python and Docker on your system.
Now install Flask library. Just type, pip install Flask and you should be good to go.
Now, create a folder with the name Hello World and go inside the folder. Next, create a file with the name app.py and add the following lines of code to it.
Now, create a file named requirements.txt and add the following line in it.
Next, create another file named Dockerfile and add the following lines in it (most important step).
Walkthrough of the Dockerfile:
Now run the following command in the terminal.
Walkthrough of the command:
Now your docker file is ready now. You can check the new image using the command
docker image -a.
If you successfully see the image then you are good to go.
Finally, go on and run the following command.
Now open up your browser and go to localhost:8080 and you should successfully see your app running.
Hope you got to learn something through this blog. If you get stuck somewhere feel free to contact me in any of my social media handles. Cheers!